
-p-2000.png)


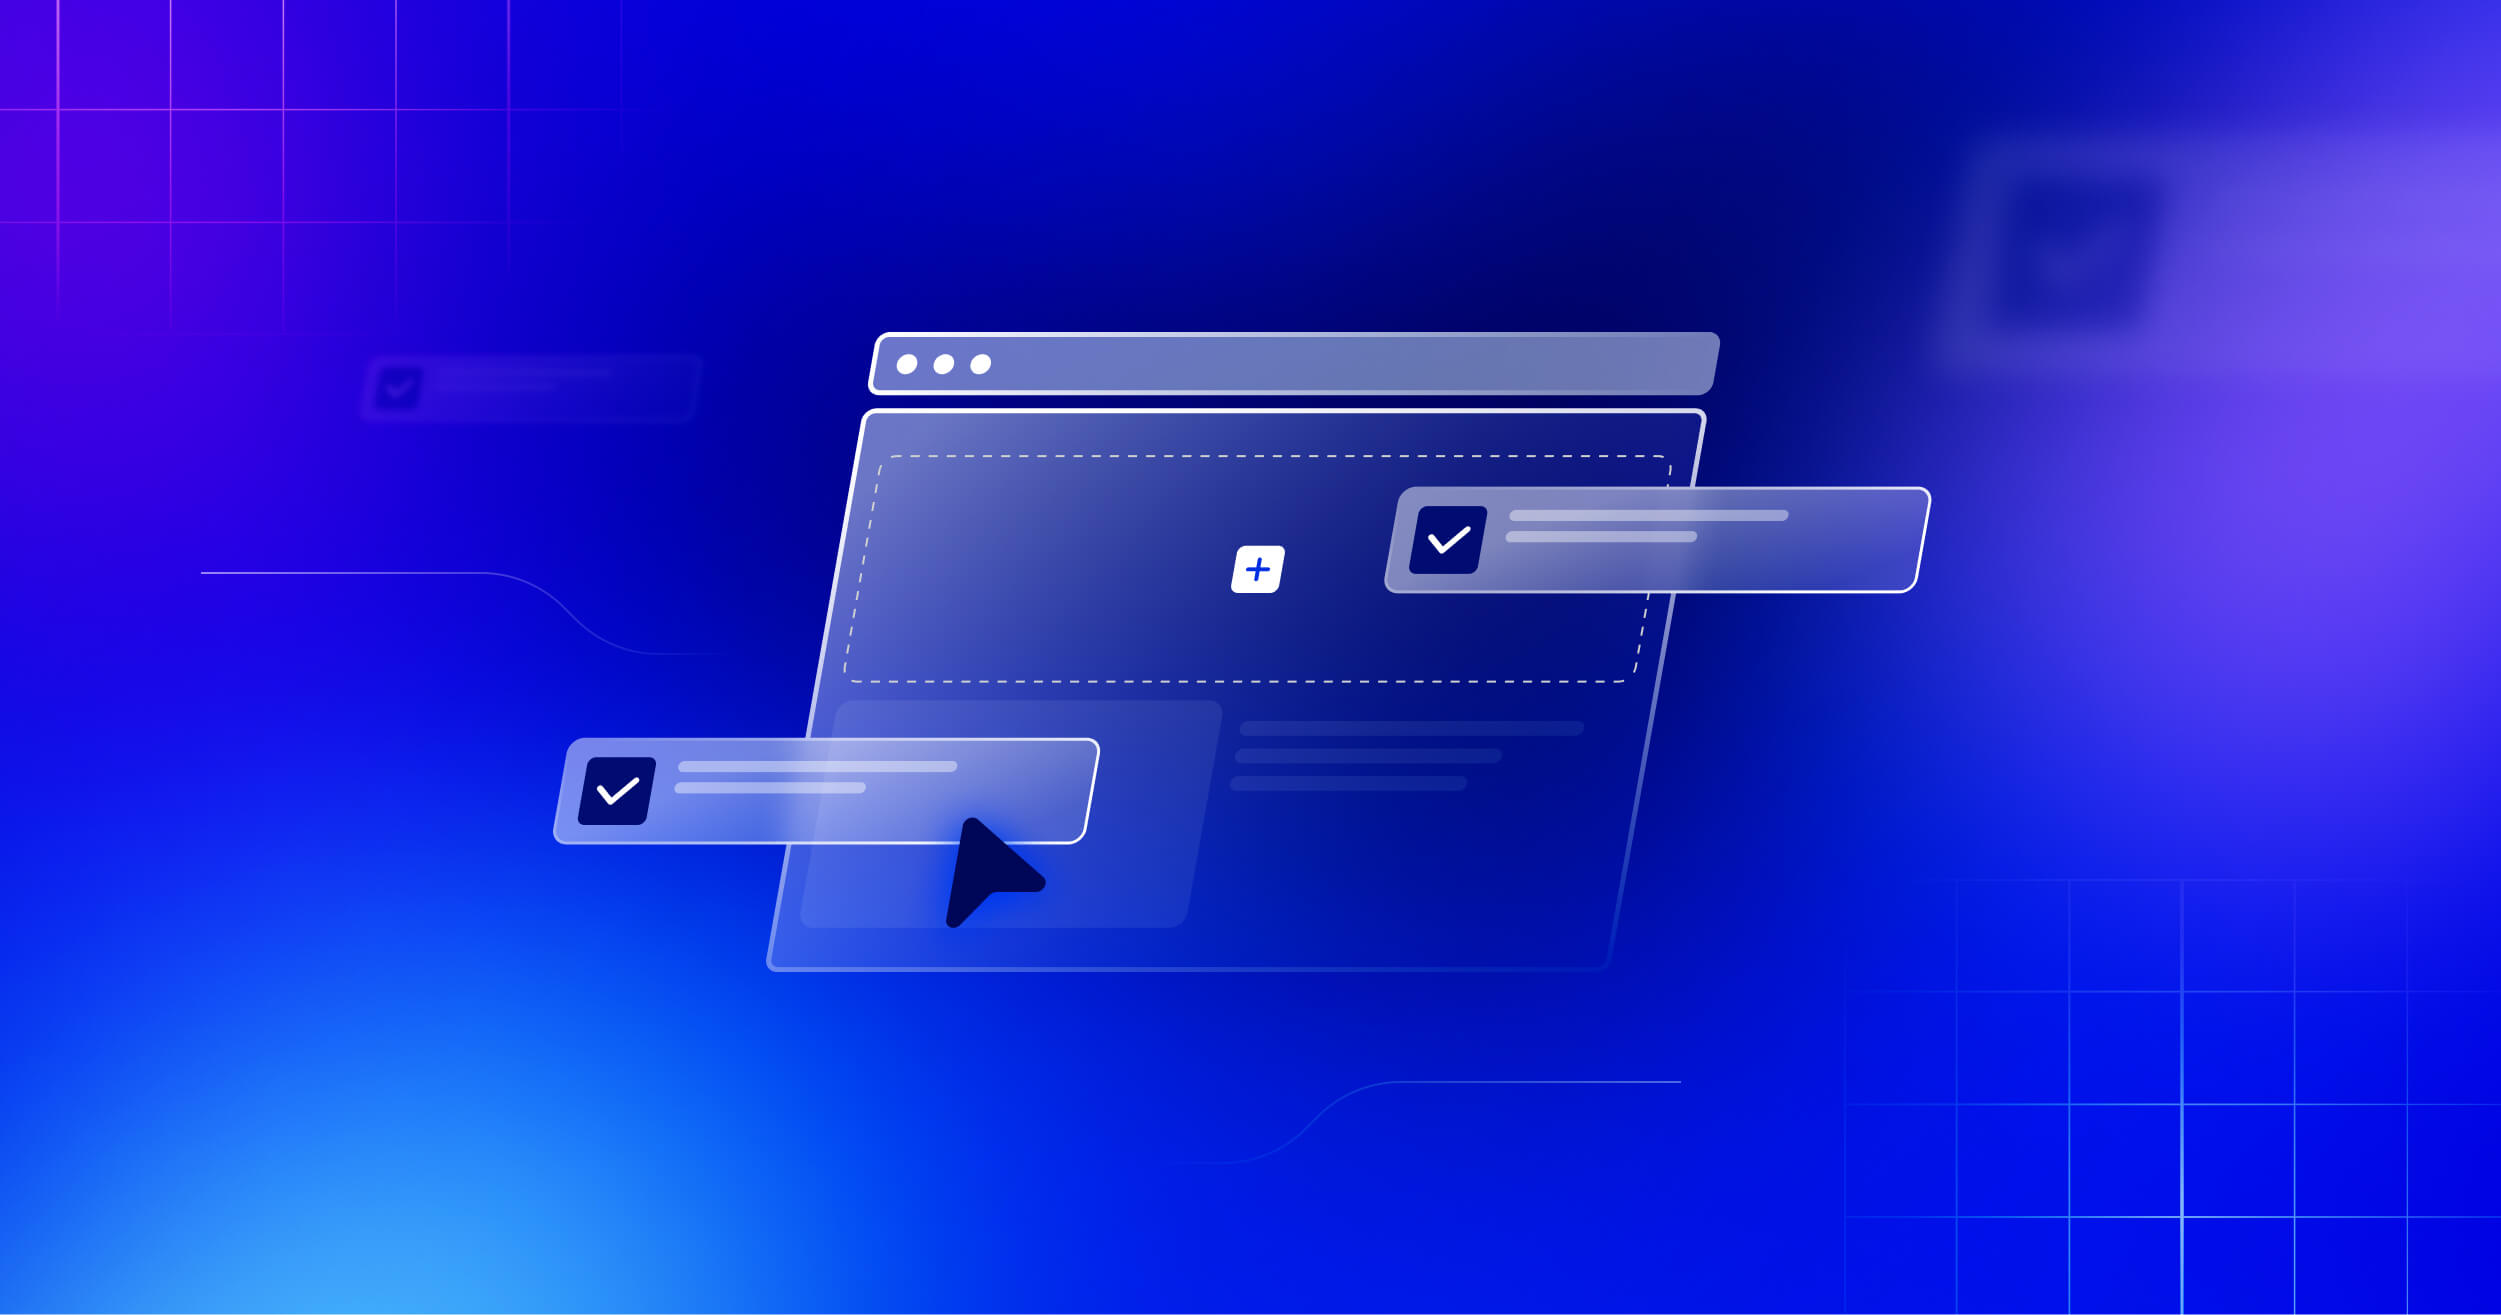
A Quick Guide on Page Building and Collaborative Webflow Workflows
We know things can change too fast on the internet. In such an era, being able to launch landing pages and campaign content faster is a major edge for marketers. Whether it’s testing new ideas, responding to market changes, or reaching out to new audiences, speed matters most for leading the pack in change.
As Charles Darwin once said, “It is not the strongest of the species that survive, nor the most intelligent, but the one most responsive to change”. But conventional website workflows often slow things down. Where even simple updates can require help from designers or developers, leading to delays and higher costs.
Webflow’s page-building feature helps resolve this problem by facilitating marketers to create and update pages themselves, without needing to write code or wait on developers. With user-friendly components, clear templates, and an easy-to-use build mode, marketers can work faster while still staying true to the brand’s design standards. This blog explores how to make the most of these page-building Webflow features to speed up content creation and improve team collaboration.
Designing Components for Marketers
What Are Components and Why Are They Important?
In Webflow page builder, components are the basic building blocks that allow marketers to create pages with predesigned elements without any need for design skills or expertise. When designing components for page building, instead of simply replicating standard HTML elements like text or buttons, it is essential that you think specifically about the goals and requirements of the marketing team.
The following are some of the common sections and content blocks that will be required for marketing campaigns:
- Call-to-Action (CTA) Sections: Design flexible layouts that can include different media such as images, videos, carousels, etc. Make it easy to update the text and links by positioning headlines and compelling call-to-action buttons in an editable format.
- Feature Sections: When creating a page template in Webflow, create sections for outlining benefits of the products/services with a mix of text and visuals such as icons, illustrations, and short videos. This approach allow marketers to swap contents and readjust layouts as needed, ensuring that the feature section remain engaging and up-to-date.
- Testimonial Blocks: Build flexible components of testimonials, matching recommendations with any number of customer quotes and related graphics or details.
- Pricing Tables: Design pricing tables where marketers can easily accommodate pricing tiers, feature lists, and call-to-action buttons to an offer.
- Lead Generation Form: Pre-styled form elements for appropriate fields, plus customizable submission actions. Some variations would cover the need for different types of data capture (e.g., contact forms, signup forms, quote request forms).
- Flexible Content Blocks: Design layouts of highly versatile sections where the columns can be arranged differently to have image/text combinations, incorporating rich text editors to ease entry of content.
- FAQ Sections: While building websites with Webflow, it is important to create question and answer components that can be filled with relevant information by marketers.
- Adding Editable Properties for Flexibility Adding trust building components that display team member profiles with editable names, designations, biographies, and profile photos helps show the real people behind the brand. This transparency makes it easier for marketers to showcase the team’s strengths and abilities and connect more effectively with the right audience.
Adding Editable Properties for Flexibility
To give marketers better control of their website, each component in Webflow should have editable properties. This feature allows marketers to change texts, images, links, etc. without disrupting the design. Some examples include:
- Rich Text Editing: Larger blocks of text will attach rich text properties to allow marketers to format text (bold, italics, lists, etc.) right in build mode.
- Link Properties: Ensure all link buttons and relevant text elements have associated link properties that marketers can easily update.
- Color and Background Properties (with Constraints): While aiming for brand consistency, a constellation of optionally editable properties could enable marketers to select one of an approved palette of defined colors for the backgrounds of certain elements (button or section accents). This gives some flexibility without straying from brand guidelines.
- Visibility Toggles: Certain optional elements in the component can include such visibility toggle properties that marketers can easily switch on or off, depending on their need (like a secondary call to action or a certain badge).
- Image and Video Upload/Selection: Connect image and video elements to media library access, allowing marketers to select from approved assets or upload new ones (while potentially adhering to size and format restrictions you might have in place).
- Data Binding (Advanced): If the expertise is available, check into establishing data binding to external sources (e.g., product catalogs, event schedules) for more advanced components. This would allow marketers to pull in information dynamically without manual updates (this might require some technical setup but offers significant efficiency gains).
Why Is It Necessary to Keep Components Organized?
An organized and properly labeled component library is essential in having a good marketer experience. Here are some strategies that can be implemented while building landing pages with Webflow:
- Logically Grouping: Grouping components such as "Headers," "Sections of Content," "Calls to Actions," and "Footers" according to being functionally or purpose grouped.
- Adoption of Consistent and Intuitive Naming Conventions with a Descriptive Nature: Clear, consistent, and intuitive naming conventions regarding intended purposes as well as variations in style (e.g., Hero - Image Left; CTA without text Button; Benefit - Icon and Text).
- Detailed Descriptions: Use the component description field to provide further context, usage guidance, or important notes for marketers.
When building components, keeping the needs of the marketer in mind would allow the team to move more quickly together without constant back-and-forth communication with designers.
Creating Smart Static Page Templates
What Are Static Templates?
Static templates are considered empty layouts with fixed structures and styles, which are handed over to marketers to create web pages quickly while maintaining consistency without having to design them from scratch. These templates adhere to the brand styles and attempt to serve as an excellent starting point for the marketing team.
Integrating Google Tag Manager (GTM) into your static templates offers several benefits that enhance both efficiency and user experience. You can learn more about the complete Webflow SEO checklist for improving your website’s rankings.
Identification of the Most Suitable Page Types
As a platform that offers top-notch security, Webflow landing page builder allows you to create suitable page types based on your specific requirements. Before you proceed, start identifying what types of pages get frequently created within your own team. These could be the following:
- Event Page: Include date/time, event agenda, biographies of speakers, registration forms, and information on the location.
- Product Page: Talks about product features, client testimonials, videos, and calls to action.
- Campaign Page: Ad hoc pages for promotions with unique visuals and marketing copy.
- Lead Generation Page: These hold the aim of collecting a user’s information via forms, and they usually do this in exchange for a free offer or download.
- Thank You Page: A basic page that confirms form submissions or purchases with simple next steps or follow-up suggestions.
What Each Template Should Include?
When creating a static page template, start with those components that will be common across all pages of that type and therefore ensure a certain degree of structural uniformity. Some sections that each template should orient toward include:
- Navigation Elements: Incorporate main and, if applicable, secondary navigation menus to help users navigate the site.
- Header and Footer: Include the header and footer that you've designed to be common across websites so that customers don't lose their way around your site.
- Branding Elements: Generally, branding elements, logos, or other visuals used in a consistent manner must be included.
Understanding Page Slots
Page slots, the designated areas within templates, offer flexibility while maintaining design integrity by allowing marketers to add components. Some examples of page slot that can be customized include:
- Primary Content Area: The most important page slot is usually located between the header/hero section and the footer. This is where marketers get to create core content for their page.
- Below-the-Fold Content Slots: These could also include optional sections for other down-page content, such as extra testimonials, related content, or further calls to action.
- Sidebar Slots (Optional): For templates that have sidebars, create page slots in these areas to allow marketers to insert relevant widgets or content blocks.
Pre-Filled with Intent (Optional but Recommended)
To make it easy for marketers, fill page slots with components that offer guidance. For example, the event template may already be pre-populated with sections for speakers, schedules, and registration forms. Marketers may edit and/or remove these.
Template Descriptions and Guidance
Similar to components in the project page of Webflow, static page templates should be described with plenty of clear and concise documentation. A guided description explains the intended purpose and any directions geared toward marketers. This helps marketers select the correct template for their needs and understand how best to utilize its design. Some of the common instructions to find within the template include:
- What kind of page is it meant for?
- What kind of content should go where?
- What should the marketer avoid changing?
The goal is to give your marketing team confidence and clarity while still protecting the design structure.
Using Build Mode
What Is Build Mode?
Build mode in Webflow is a collaborative environment designed for marketers, clients, and less-technical team members to create and manage website content without compromising your website's design integrity of the overall design. This mode serves as a middle ground between Design Mode (used by designers) and Editor Mode (used by content editors) and is suitable for non-designers who need the flexibility to update and adjust website content without requiring deep technical or design expertise.
- Unlike Design Mode, which is tailored for designers to craft and structure the website's layout, Build Mode empowers non-designers to assemble pages using pre-defined components and templates.
- And unlike Editor Mode, which lets users update content like text and images, Build Mode gives non-designers more control. They can create new pages, arrange layouts, and add design elements without changing the overall look of the site. This makes it easier for marketing teams or clients to manage the site without needing design skills or a developer’s help.
What Is the Interface Like?
- Canvas: A visual layout of the page under construction, allowing marketers to see their faulty changes in real time.
- Components Panel: The portal to the organized library of components put together by the design team.
- Pages Panel: Allows switching between pages and creation of new pages from templates.
- Settings Panel (Contextual): Shows the properties of the selected component or static content-rendering element that are editable.
- Navigator Panel: Presents a hierarchical overview of the page structure to help locate and select the specific component to be input anywhere within page slots.
Walking Around Their Own Dragging System
If anything can be said about the build-mode functionality, it is an intuitive drag and drop. Marketers browse components, select a desired building block, and then drag it to any given page slot on the canvas. Visual feedback is displayed to confirm exactly where it would slot in on the page structure.
Content Editing
The Settings panel dynamically exposes properties that the designer has considered editable for any selected component within build mode. Marketers can then input text, upload an image, change a link, hide, and edit just about any content without worrying about the design or code behind it. This gives them every opportunity to personalize content to fit their campaign or message.
Arranging Components Inside Page Slots
Page slots are variable containers, allowing marketers to orient the components they add for their purposes. This makes it easy to reorder the components by dragging and dropping them on the canvas or using the Navigator. This provides some level of layout control within the constraints of the template.
Familiar Elements That Edit Static Content
Any static-content elements that were part of the base static page template can be edited directly on the canvas in build mode, much like in the standard edit mode. Marketers use this ability as needed to update headings or introductory text and other non-changing elements.
Limitations of Build Mode
It needs to be reiterated that build mode intentionally locks down direct manipulation of core design elements. Marketers cannot:
- Drag elements outside of page slots or the paradigms laid down by the template.
- Change styling properties, including fonts, colors, spacing, or layout, in any way other than the predefined options put out by the designer.
- Add custom code or alter the page structure in any way outside the known web page provided slots.
None of these limitations should be seen as hindrances but as enablers that ensure brand consistency while preventing accidental deviations in the design. They provide marketers with the freedom to create within a secure and controlled environment.
Real-Time Preview and Collaboration
In build mode, there would be a live preview functionality that allows marketers to understand how their changes appear on the live website. Besides this, Webflow page structure has also facilitated collaborative features among many marketers working on different pages or sometimes even the same page simultaneously, encouraging teamwork and facilitating faster and more efficient content creation processes.
Webflow’s build mode provides a focused and intuitive interface with clear boundaries, empowering marketing teams to take ownership of their processes in page creation to speed up deployments of campaigns and more efficient content management.
Designer’s Ongoing Role and Team Collaboration
You may be aware of the key advantages of Webflow's page creation for marketers. While marketers can work independently in Build Modes, designers still play a key role in maintaining quality and evolving the system over time.
Update Components Based on Feedback
The initial set of components you create may not meet all marketing needs in the future. This makes it important to encourage marketing team members to continue providing feedback. Always be willing to iterate your component library based on what they find. This might involve:
- Expanding or adding new components for new needs.
- Changes in existing components for more flexibility or usability problems.
- Refining component properties such as marketing feedback.
Similarly, your initial static page templates might need adjustments over time as marketing strategies evolve or new page types become necessary. Be open to creating new templates or modifying existing ones to better support your team's goals.
Clear Communication and Documentation
Clear lines of communication between you and your marketing team need to be established to give them instructions on the efficient use of components and templates. Create internal documentation or training sessions that cover the following:
- The reason and intended use of each component.
- How properties of components should be edited.
- The structure and guidelines on using different static page
- Best practices for building effective landing pages.
Regular Reviews and Feedback Loops
Implementing a systematic and periodic review of Webflow pages built by the marketers ensures consistency with branding guidelines. This also helps identify issues or areas necessitating further direction while encouraging open feedback from both sides, the design and marketing departments, to bring about an iterative and collaborative process.
Staying Ahead of Webflow Updates
Webflow releases new feature updates more frequently. This can be advantageous for marketers and their teams to enhance design and marketing workflows by
- Finding out and see what can be improved
- Updating your components or templates accordingly
- Informing the team of any new possibilities
With a culture of collaboration and asking for feedback, constantly bringing improvements to your design system will ensure page building is indeed a great asset for your whole team to maximize, promote efficiency, and maintain brand excellence.
Conclusion
So, what's the takeaway? Webflow's page-building tools are game-changers for marketing teams. They give you the freedom to create and update web pages without always relying on developers. With customizable templates, editable components, and a straightforward build mode, you can quickly adapt to your business's needs while keeping your brand consistent.
If you're a startup or a big enterprise looking to make the most of Webflow's features, Seattle New Media is here to help. We're experts in setting up efficient page-building workflows tailored just for you. Reach out today, and let's make your content creation process smoother and faster than ever.

FAQ
What is Webflow's page building feature?
Webflow's page building feature allows designers to create customizable page templates and components, enabling marketers and clients to build and edit brand-consistent pages without altering the site's design integrity.
Can designers create page templates for all types of pages?
No, designers can only create page templates for static pages. Collection pages cannot have page templates.
How can I preview changes before publishing?
Webflow's build mode offers a live preview feature, allowing you to see how changes will appear on the live site in real-time, facilitating informed decisions before publishing updates.

Marketing Team
Publisher

Marketing Team
Publisher
Subscribe to Seattle New Media Newsletter

Enter your details to get instant access
Get the File Now
If you'd like to download the file, enter your name and email below, and we'll send it directly to your inbox.
The file has been sent to your email. Please check your inbox!
We know things can change too fast on the internet. In such an era, being able to launch landing pages and campaign content faster is a major edge for marketers. Whether it’s testing new ideas, responding to market changes, or reaching out to new audiences, speed matters most for leading the pack in change.
As Charles Darwin once said, “It is not the strongest of the species that survive, nor the most intelligent, but the one most responsive to change”. But conventional website workflows often slow things down. Where even simple updates can require help from designers or developers, leading to delays and higher costs.
Webflow’s page-building feature helps resolve this problem by facilitating marketers to create and update pages themselves, without needing to write code or wait on developers. With user-friendly components, clear templates, and an easy-to-use build mode, marketers can work faster while still staying true to the brand’s design standards. This blog explores how to make the most of these page-building Webflow features to speed up content creation and improve team collaboration.
Designing Components for Marketers
What Are Components and Why Are They Important?
In Webflow page builder, components are the basic building blocks that allow marketers to create pages with predesigned elements without any need for design skills or expertise. When designing components for page building, instead of simply replicating standard HTML elements like text or buttons, it is essential that you think specifically about the goals and requirements of the marketing team.
The following are some of the common sections and content blocks that will be required for marketing campaigns:
- Call-to-Action (CTA) Sections: Design flexible layouts that can include different media such as images, videos, carousels, etc. Make it easy to update the text and links by positioning headlines and compelling call-to-action buttons in an editable format.
- Feature Sections: When creating a page template in Webflow, create sections for outlining benefits of the products/services with a mix of text and visuals such as icons, illustrations, and short videos. This approach allow marketers to swap contents and readjust layouts as needed, ensuring that the feature section remain engaging and up-to-date.
- Testimonial Blocks: Build flexible components of testimonials, matching recommendations with any number of customer quotes and related graphics or details.
- Pricing Tables: Design pricing tables where marketers can easily accommodate pricing tiers, feature lists, and call-to-action buttons to an offer.
- Lead Generation Form: Pre-styled form elements for appropriate fields, plus customizable submission actions. Some variations would cover the need for different types of data capture (e.g., contact forms, signup forms, quote request forms).
- Flexible Content Blocks: Design layouts of highly versatile sections where the columns can be arranged differently to have image/text combinations, incorporating rich text editors to ease entry of content.
- FAQ Sections: While building websites with Webflow, it is important to create question and answer components that can be filled with relevant information by marketers.
- Adding Editable Properties for Flexibility Adding trust building components that display team member profiles with editable names, designations, biographies, and profile photos helps show the real people behind the brand. This transparency makes it easier for marketers to showcase the team’s strengths and abilities and connect more effectively with the right audience.
Adding Editable Properties for Flexibility
To give marketers better control of their website, each component in Webflow should have editable properties. This feature allows marketers to change texts, images, links, etc. without disrupting the design. Some examples include:
- Rich Text Editing: Larger blocks of text will attach rich text properties to allow marketers to format text (bold, italics, lists, etc.) right in build mode.
- Link Properties: Ensure all link buttons and relevant text elements have associated link properties that marketers can easily update.
- Color and Background Properties (with Constraints): While aiming for brand consistency, a constellation of optionally editable properties could enable marketers to select one of an approved palette of defined colors for the backgrounds of certain elements (button or section accents). This gives some flexibility without straying from brand guidelines.
- Visibility Toggles: Certain optional elements in the component can include such visibility toggle properties that marketers can easily switch on or off, depending on their need (like a secondary call to action or a certain badge).
- Image and Video Upload/Selection: Connect image and video elements to media library access, allowing marketers to select from approved assets or upload new ones (while potentially adhering to size and format restrictions you might have in place).
- Data Binding (Advanced): If the expertise is available, check into establishing data binding to external sources (e.g., product catalogs, event schedules) for more advanced components. This would allow marketers to pull in information dynamically without manual updates (this might require some technical setup but offers significant efficiency gains).
Why Is It Necessary to Keep Components Organized?
An organized and properly labeled component library is essential in having a good marketer experience. Here are some strategies that can be implemented while building landing pages with Webflow:
- Logically Grouping: Grouping components such as "Headers," "Sections of Content," "Calls to Actions," and "Footers" according to being functionally or purpose grouped.
- Adoption of Consistent and Intuitive Naming Conventions with a Descriptive Nature: Clear, consistent, and intuitive naming conventions regarding intended purposes as well as variations in style (e.g., Hero - Image Left; CTA without text Button; Benefit - Icon and Text).
- Detailed Descriptions: Use the component description field to provide further context, usage guidance, or important notes for marketers.
When building components, keeping the needs of the marketer in mind would allow the team to move more quickly together without constant back-and-forth communication with designers.
Creating Smart Static Page Templates
What Are Static Templates?
Static templates are considered empty layouts with fixed structures and styles, which are handed over to marketers to create web pages quickly while maintaining consistency without having to design them from scratch. These templates adhere to the brand styles and attempt to serve as an excellent starting point for the marketing team.
Integrating Google Tag Manager (GTM) into your static templates offers several benefits that enhance both efficiency and user experience. You can learn more about the complete Webflow SEO checklist for improving your website’s rankings.
Identification of the Most Suitable Page Types
As a platform that offers top-notch security, Webflow landing page builder allows you to create suitable page types based on your specific requirements. Before you proceed, start identifying what types of pages get frequently created within your own team. These could be the following:
- Event Page: Include date/time, event agenda, biographies of speakers, registration forms, and information on the location.
- Product Page: Talks about product features, client testimonials, videos, and calls to action.
- Campaign Page: Ad hoc pages for promotions with unique visuals and marketing copy.
- Lead Generation Page: These hold the aim of collecting a user’s information via forms, and they usually do this in exchange for a free offer or download.
- Thank You Page: A basic page that confirms form submissions or purchases with simple next steps or follow-up suggestions.
What Each Template Should Include?
When creating a static page template, start with those components that will be common across all pages of that type and therefore ensure a certain degree of structural uniformity. Some sections that each template should orient toward include:
- Navigation Elements: Incorporate main and, if applicable, secondary navigation menus to help users navigate the site.
- Header and Footer: Include the header and footer that you've designed to be common across websites so that customers don't lose their way around your site.
- Branding Elements: Generally, branding elements, logos, or other visuals used in a consistent manner must be included.
Understanding Page Slots
Page slots, the designated areas within templates, offer flexibility while maintaining design integrity by allowing marketers to add components. Some examples of page slot that can be customized include:
- Primary Content Area: The most important page slot is usually located between the header/hero section and the footer. This is where marketers get to create core content for their page.
- Below-the-Fold Content Slots: These could also include optional sections for other down-page content, such as extra testimonials, related content, or further calls to action.
- Sidebar Slots (Optional): For templates that have sidebars, create page slots in these areas to allow marketers to insert relevant widgets or content blocks.
Pre-Filled with Intent (Optional but Recommended)
To make it easy for marketers, fill page slots with components that offer guidance. For example, the event template may already be pre-populated with sections for speakers, schedules, and registration forms. Marketers may edit and/or remove these.
Template Descriptions and Guidance
Similar to components in the project page of Webflow, static page templates should be described with plenty of clear and concise documentation. A guided description explains the intended purpose and any directions geared toward marketers. This helps marketers select the correct template for their needs and understand how best to utilize its design. Some of the common instructions to find within the template include:
- What kind of page is it meant for?
- What kind of content should go where?
- What should the marketer avoid changing?
The goal is to give your marketing team confidence and clarity while still protecting the design structure.
Using Build Mode
What Is Build Mode?
Build mode in Webflow is a collaborative environment designed for marketers, clients, and less-technical team members to create and manage website content without compromising your website's design integrity of the overall design. This mode serves as a middle ground between Design Mode (used by designers) and Editor Mode (used by content editors) and is suitable for non-designers who need the flexibility to update and adjust website content without requiring deep technical or design expertise.
- Unlike Design Mode, which is tailored for designers to craft and structure the website's layout, Build Mode empowers non-designers to assemble pages using pre-defined components and templates.
- And unlike Editor Mode, which lets users update content like text and images, Build Mode gives non-designers more control. They can create new pages, arrange layouts, and add design elements without changing the overall look of the site. This makes it easier for marketing teams or clients to manage the site without needing design skills or a developer’s help.
What Is the Interface Like?
- Canvas: A visual layout of the page under construction, allowing marketers to see their faulty changes in real time.
- Components Panel: The portal to the organized library of components put together by the design team.
- Pages Panel: Allows switching between pages and creation of new pages from templates.
- Settings Panel (Contextual): Shows the properties of the selected component or static content-rendering element that are editable.
- Navigator Panel: Presents a hierarchical overview of the page structure to help locate and select the specific component to be input anywhere within page slots.
Walking Around Their Own Dragging System
If anything can be said about the build-mode functionality, it is an intuitive drag and drop. Marketers browse components, select a desired building block, and then drag it to any given page slot on the canvas. Visual feedback is displayed to confirm exactly where it would slot in on the page structure.
Content Editing
The Settings panel dynamically exposes properties that the designer has considered editable for any selected component within build mode. Marketers can then input text, upload an image, change a link, hide, and edit just about any content without worrying about the design or code behind it. This gives them every opportunity to personalize content to fit their campaign or message.
Arranging Components Inside Page Slots
Page slots are variable containers, allowing marketers to orient the components they add for their purposes. This makes it easy to reorder the components by dragging and dropping them on the canvas or using the Navigator. This provides some level of layout control within the constraints of the template.
Familiar Elements That Edit Static Content
Any static-content elements that were part of the base static page template can be edited directly on the canvas in build mode, much like in the standard edit mode. Marketers use this ability as needed to update headings or introductory text and other non-changing elements.
Limitations of Build Mode
It needs to be reiterated that build mode intentionally locks down direct manipulation of core design elements. Marketers cannot:
- Drag elements outside of page slots or the paradigms laid down by the template.
- Change styling properties, including fonts, colors, spacing, or layout, in any way other than the predefined options put out by the designer.
- Add custom code or alter the page structure in any way outside the known web page provided slots.
None of these limitations should be seen as hindrances but as enablers that ensure brand consistency while preventing accidental deviations in the design. They provide marketers with the freedom to create within a secure and controlled environment.
Real-Time Preview and Collaboration
In build mode, there would be a live preview functionality that allows marketers to understand how their changes appear on the live website. Besides this, Webflow page structure has also facilitated collaborative features among many marketers working on different pages or sometimes even the same page simultaneously, encouraging teamwork and facilitating faster and more efficient content creation processes.
Webflow’s build mode provides a focused and intuitive interface with clear boundaries, empowering marketing teams to take ownership of their processes in page creation to speed up deployments of campaigns and more efficient content management.
Designer’s Ongoing Role and Team Collaboration
You may be aware of the key advantages of Webflow's page creation for marketers. While marketers can work independently in Build Modes, designers still play a key role in maintaining quality and evolving the system over time.
Update Components Based on Feedback
The initial set of components you create may not meet all marketing needs in the future. This makes it important to encourage marketing team members to continue providing feedback. Always be willing to iterate your component library based on what they find. This might involve:
- Expanding or adding new components for new needs.
- Changes in existing components for more flexibility or usability problems.
- Refining component properties such as marketing feedback.
Similarly, your initial static page templates might need adjustments over time as marketing strategies evolve or new page types become necessary. Be open to creating new templates or modifying existing ones to better support your team's goals.
Clear Communication and Documentation
Clear lines of communication between you and your marketing team need to be established to give them instructions on the efficient use of components and templates. Create internal documentation or training sessions that cover the following:
- The reason and intended use of each component.
- How properties of components should be edited.
- The structure and guidelines on using different static page
- Best practices for building effective landing pages.
Regular Reviews and Feedback Loops
Implementing a systematic and periodic review of Webflow pages built by the marketers ensures consistency with branding guidelines. This also helps identify issues or areas necessitating further direction while encouraging open feedback from both sides, the design and marketing departments, to bring about an iterative and collaborative process.
Staying Ahead of Webflow Updates
Webflow releases new feature updates more frequently. This can be advantageous for marketers and their teams to enhance design and marketing workflows by
- Finding out and see what can be improved
- Updating your components or templates accordingly
- Informing the team of any new possibilities
With a culture of collaboration and asking for feedback, constantly bringing improvements to your design system will ensure page building is indeed a great asset for your whole team to maximize, promote efficiency, and maintain brand excellence.
Conclusion
So, what's the takeaway? Webflow's page-building tools are game-changers for marketing teams. They give you the freedom to create and update web pages without always relying on developers. With customizable templates, editable components, and a straightforward build mode, you can quickly adapt to your business's needs while keeping your brand consistent.
If you're a startup or a big enterprise looking to make the most of Webflow's features, Seattle New Media is here to help. We're experts in setting up efficient page-building workflows tailored just for you. Reach out today, and let's make your content creation process smoother and faster than ever.
FAQ
What is Webflow's page building feature?
Webflow's page building feature allows designers to create customizable page templates and components, enabling marketers and clients to build and edit brand-consistent pages without altering the site's design integrity.
Can designers create page templates for all types of pages?
No, designers can only create page templates for static pages. Collection pages cannot have page templates.
How can I preview changes before publishing?
Webflow's build mode offers a live preview feature, allowing you to see how changes will appear on the live site in real-time, facilitating informed decisions before publishing updates.
Marketing Team
Publisher
Subscribe to Seattle New Media Newsletter
Marketing Team
Publisher
Get the File Now
If you'd like to download the file, enter your name and email below, and we'll send it directly to your inbox.
The file has been sent to your email. Please check your inbox!


.webp)

.webp)


Hi, I'm Mike!
If you are enjoying the article, feel free to subscribe to our monthly newsletter.
If you have any project requirements, please contact us.


